The Blend network
tool makes maya transform nodes behave like blend shapes.
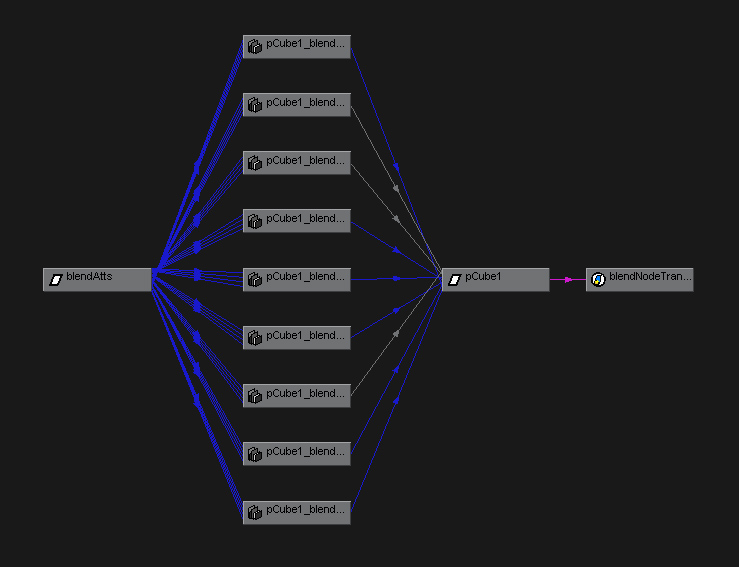
It creates a network of blendweighted
nodes that drive the transforms of any transform node, such as a bone. The
blend values are controlled by a dummy transform node with a float attribute
for each desired blend transform. The network can drive the position, rotation,
and scale attributes.
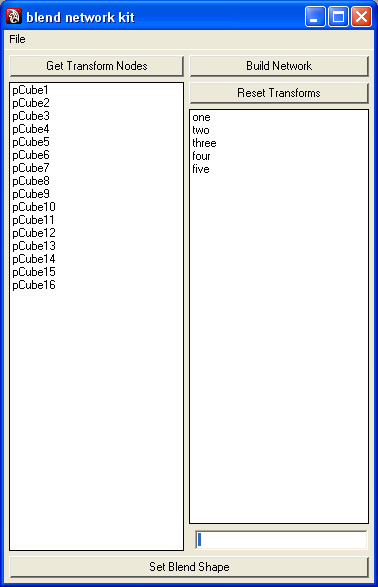
I wrote a tool to set all of this
up. It's used to create, save, and load blend networks.
After adding the transform nodes
to the list and entering a list of blend names, the tool builds the network.
Once a network
is set up, the tool allows you to edit blend transforms, or add new bend transforms.
The transform blend node was then
attached to a facial rig for animation. A short video of this settup is here.
All this is possible with setdriven
keys, however, this process is simpler and more direct. The blendWeighted
node is used by the set driven system to blend the multiple curve inputs.
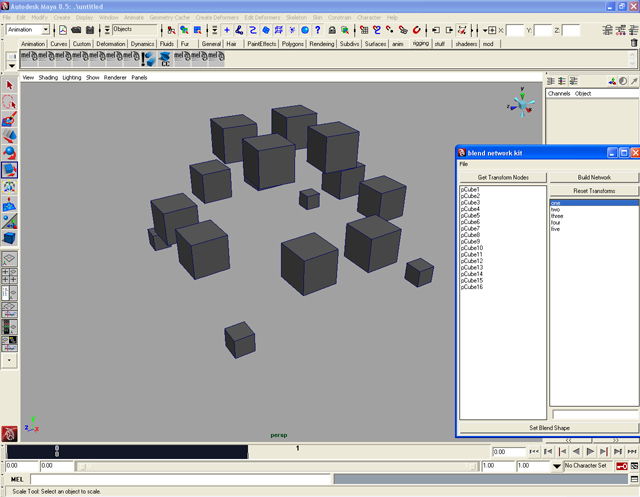
Here's
a smaple Maya file using some polygon boxes set up with a blend network. Right
click save target.
Can it work with Mocap?
All facial Mocap at EA is bone driven.
This is a huge limitation and a nucience for animators as it forces them to
animate directly on the facial bones.
Here is a video of bone driven facial
Mocap being retargeted to a blend network facial rig. The head on the left
is the original bone driven mocap. The head on the right is the blendnetwork
head.
These are a few quick movies of more complete setups. These are just binding tests to make sure the rig is working as planned.